Uncategorized
What Happens If My ID Application Is Rejected

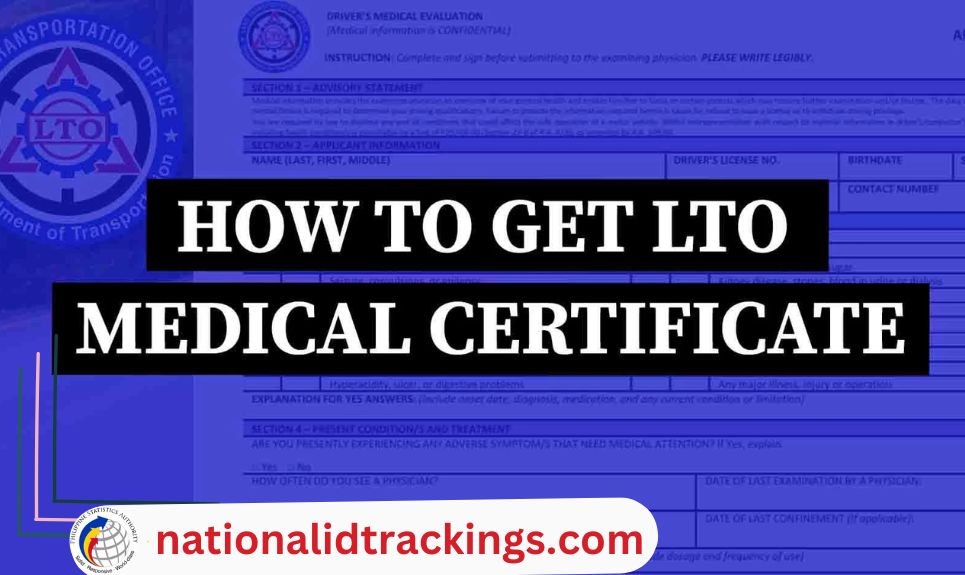
Owning a motor vehicle in the Philippines comes with various responsibilities, one of which is ensuring that you are in a good physical and mental state to drive safely. This responsibility is taken seriously by the Land Transportation Office (LTO), which requires all motor vehicle owners to provide a medical certificate.
In this guide Where to Get a Medical Certificate: LTO-Accredited Medical Clinics, we’ll delve into what an LTO medical certificate is, who needs one, the tests involved, where to get it, and the associated costs.
What is an LTO Medical Certificate?
An LTO medical certificate is an official document that verifies your physical and mental fitness to operate a motor vehicle. This certificate serves multiple purposes:
- Safety Assurance: It confirms that you are not suffering from any medical condition that could impair your ability to drive, helping to reduce the risk of accidents on the road.
- License Restrictions: The LTO uses the information in the medical certificate to determine any necessary restrictions on your driver’s license, such as limitations based on specific medical conditions.
Who Needs to Get an LTO Medical Certificate?
The requirement for an LTO medical certificate applies to:
- New Applicants: Individuals applying for a student driver’s license, non-professional driver’s license, or professional driver’s license must secure this document.
- Renewals: Anyone renewing their driver’s license is also required to submit a medical certificate.
Why Do I Need an LTO Medical Certificate?

The LTO medical certificate is not merely a bureaucratic hurdle; it is a crucial aspect of road safety. Here’s why it is mandatory:
- Public Safety: By confirming that drivers are fit to operate vehicles, the LTO helps to ensure the safety of all road users.
- Legal Requirement: Without a valid medical certificate, you will be unable to obtain or renew your driver’s license, hindering your ability to drive legally.
What Tests Are Covered in the LTO Medical Exam?
The LTO medical exam includes several tests designed to assess your overall health. These tests typically cover:
- Drug Test: To check for the presence of illegal substances.
- Hearing Test: Ensures that you can hear adequately, which is vital for safe driving.
- Speech Test: Assesses your ability to communicate effectively.
- Eye Test: Verifies that your vision meets the standards required for driving.
- Physical Examination: Checks for disabilities and certain medical conditions that may affect your driving.
- Blood Pressure Test: Ensures that your blood pressure is within a safe range.
How Much is the LTO Medical Exam?
In the past, the cost of the LTO medical exam ranged from ₱500 to ₱700. However, due to complaints about high prices, the LTO has capped the cost at around ₱300.
This new regulation is intended to protect consumers, and clinics found to be overcharging will face penalties, including fines and suspension of their accreditation.
What’s the Validity of an LTO Medical Certificate?
It’s essential to note that an LTO medical certificate is valid for only 15 days from the date of issuance. This means you need to ensure that you apply for your driver’s license renewal or application within this timeframe to avoid issues.
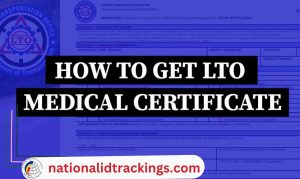
Where to Get a Medical Certificate for Your LTO Driver’s License
-Feb-07-2024-03-07-18-5160-AM.png?width=600&height=400&name=Pics%20for%20blog%20-%20600x400%20(1)-Feb-07-2024-03-07-18-5160-AM.png)
To obtain an LTO medical certificate, you must undergo a medical exam at an accredited clinic. Here’s how to find one:
- LTO Website: A complete list of LTO-accredited medical clinics is available on the LTO’s official website.
- Local Clinics: Many accredited clinics are located near LTO branches for your convenience.
List of LTO-Accredited Medical Clinics in Metro Manila
NCR East (Quezon City, Pasig, Taguig, Mandaluyong, and Marikina)
| Clinic | Address | Contact Number |
|---|---|---|
| ANC Halili Medical Corp. | Brgy. Kaligayahan, Novaliches, Quezon City | 09152457637 |
| AQV Medical Clinic | 433 J.P. Rizal St., Sto Niño, Marikina City | 09178996526 |
| Char-lyn Medical Clinic | East Avenue, Quezon City | 09171003510 |
| FSM Medical Clinic | FTI Old Admin Bldg., FTI Complex, Taguig City | 09175157558 |
| Victory Medical Clinic | J.P. Rizal Marikina Underpass Bridge, Marikina City | 09218205900 |
NCR West (Manila, Muntinlupa, Malabon, Caloocan, Las Piñas, Parañaque, Pasay, and Makati)
| Clinic | Address | Contact Number |
|---|---|---|
| Abeleda Medical Clinic | 1415 Tayuman, Sta. Cruz, Manila | |
| A.E.B Medical Clinic | 312 Real St. Alabang Zapote Rd., Talon Uno, Las Piñas City | (077) 119-6963 |
| Green Pasteur Medical Services | Areza Building, LTO Compound, Domestic Road, Pasay City | |
| Jenhealth Medical Clinic | #27 National Road, Tunasan, Muntinlupa City | 09171883426 |
| Thinkwise Medical Services | Alabang Town Center, Muntinlupa City | 541-0189 |
How to Get an LTO Medical Certificate
Obtaining an LTO medical certificate is a straightforward process. Follow these steps:
- Find an Accredited Clinic: Locate an LTO-accredited medical clinic either near an LTO branch or through the official LTO website.
- Complete the Patient Form: Upon arrival at the clinic, fill out the necessary patient form and pay the required fee.
- Undergo the Medical Exam: Complete the medical tests as required by the clinic.
- Certificate Issuance: After the exam, the clinic will electronically send your medical certificate to the LTO via the Land Transportation Management System (LTMS) portal. This electronic submission helps prevent duplication and forgery.
LTO-Accredited Medical Clinics: FAQs
If you still have questions regarding the LTO medical exam and accredited clinics, here are some common queries answered:
1. Do I have to undergo succeeding medical examinations after I receive my driver’s license?
Previously, driver’s license holders were required to undergo periodic medical examinations (PMEs) throughout the validity of their license, which could amount to four or five exams before renewal. However, as of 2023, the LTO has relaxed this requirement. Now, holders of licenses with five-year and ten-year validity only need to undergo a medical examination 60 days before or on the specified renewal date.
2. Are foreigners required to get an LTO medical certificate?
Yes, the same medical certification requirements apply to foreigners. If you are a foreign national applying for or renewing a driver’s license in the Philippines, you will also need to provide a medical certificate from an LTO-accredited clinic.
3. Can those with minor sight/eye issues get a driver’s license?
Applicants with minor eyesight or eye issues may still be eligible for a driver’s license. However, the LTO will impose specific restrictions based on the results of your medical examination. It’s important to disclose any vision issues during the exam, as this could affect your driving privileges.
4. Do LTO clinics operate on weekends?
The operational hours of LTO-accredited clinics on weekends can vary. It’s advisable to contact the clinic beforehand to confirm their availability and whether they can accommodate your appointment on a weekend.
5. The nearest LTO-accredited medical clinic is closed. What should I do?
If your nearest LTO-accredited medical clinic is closed, you can visit another accredited clinic. There are many options available, so consult the list of clinics above or check the official LTO website for an updated directory.
Final Thoughts
To complete your license registration or renewal, obtaining a medical certificate from any LTO-accredited medical clinic is essential. Fortunately, there are numerous clinics available, many of which are conveniently located near LTO offices.
Always remember that clinic information may change, so it’s a good practice to check with your chosen clinic before your visit. By staying informed and prepared, you can navigate the medical certification process smoothly.


-
 Uncategorized12 months ago
How to change National ID Address
-
 Uncategorized11 months ago
National ID Renewal in Philippines Easy Process
-
 Uncategorized11 months ago
National ID Name Change – National ID Card Name Change
-
 Uncategorized12 months ago
PhilSys ID Check – Electronic Phillipine Identification
-
 Uncategorized11 months ago
How to Check Your Voter Status for Philippine Elections
-
 Uncategorized12 months ago
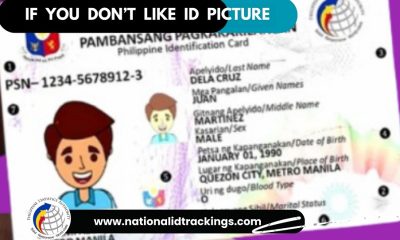
Don’t like Picture on PhilSys National ID ?
-
 Uncategorized11 months ago
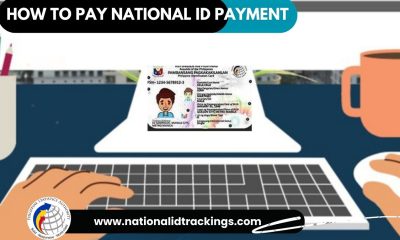
National ID Payment – National ID Payment Philsys
-
 Uncategorized11 months ago
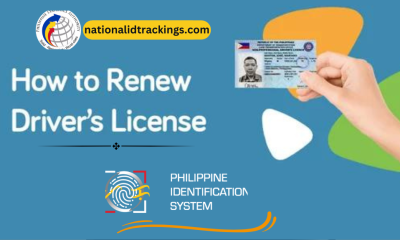
Renewal of Driver’s license in the Philippines
-

 Uncategorized11 months ago
Philippine International Driving Permit (PIDP)
-
 Uncategorized9 months ago
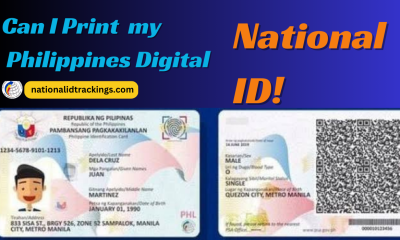
Can I Print My Digital National ID- A Detailed Guide
-
 Uncategorized11 months ago
How to Replace a Lost National ID Philippine
-

 Uncategorized9 months ago
How to Register Your TM SIM Card Online – A Detailed Guide